Showing posts with label urban decay. Show all posts

Friday, December 07, 2012

EOTD with Urban Decay Naked 2 Palette

EOTD

Today's eye look (well, the other day's actually) comes from Urban Decay's Naked 2 Palette, one of my favourite eye palettes of all time. I prefer it over the original Naked Palette, actually. 


I used only three colours from the Naked 2 Palette and a couple of brushes. I'll show you which colours I used and the steps I did to get the look. Read on!


1. First, I put this pretty silvery colour, Verve, all over my lid. It's super shiny and reflective, so I didn't need that much.


2. Then, I put "Busted" on the outer part of my lid and into my crease to darken it up. I used a flat shadow brush for this.


3. Then using a small crease brush, I smoked Blackout, a rich matte black shade, into the outer portion of my lid and crease. I didn't need that much since it's very pigmented.

4. Then I lined my upper and lower lashlines with a simple black pencil liner.

5. Using Busted again, I ran it with a liner brush over the black liner I just applied. 

6. Then with Blackout, I made a pretty thick line of just the outer portion of my upper and lower lash lines. Then I pushed that black up into my outer corner, just to smoke it up.

7. Then once again using Verve (the silvery shade), I ran that underneath the liner on my lower lashline. And then I used it to highlight my browbone and inner corner.

8. After all that, I just applied mascara to my upper and lower lashes, and that was the whole look!


Thanks for reading!!


Melissa

Friday, August 24, 2012

Urban Decay Smoked Palette Review

Urban Decay Smoked Palette, Look Book, Perversion Eyeliner

Today's post is going to be of the new Urban Decay Smoked Palette, a palette filled with 10 smoky shades. It comes with a look book, a mini size primer potion and a 24/7 eyeliner in Perversion. 

In my review, I'll be showing you pictures of each eyeshadow and swatches, followed by a description of each shade. 

Take a look!!

Urban Decay Smoked Palette

Let's look at those eyeshadows, shall we?

Top Row (from L-R): Kinky, Freestyle, Mushroom, Backdoor, Blackout
Bottom Row (from L-R): Barlust, Rockstar, Evidence, Loaded, Asphalt

Aren't they pretty? Without even seeing it in person, I already knew I wanted it!!


Top Row (From L-R): Kinky, Freestyle
Bottow Row (From L-R): Barlust, Rockstar

Top Row (From L-R): Kinky, Freestyle
Bottom Row (From L-R): Barlust, Rockstar

1) Kinky: Kinky is a matte off white, intended for highlighting your browbone. It is very pigmented for a matte; I often find myself using too much and having to wipe some off. This is a new shade and exclusive to this palette.

2) Freestyle: Freestyle is also matte. It is a peach, skin tone colour which is why you can't actually see it in the swatch. It just blends right in. It is less pigmented than Kinky. This is also a new shade and exclusive to the palette.

3) Barlust: Barlust is a beauty, a shimmery warm brown with red-brown tones. I have cool toned skin, and this doesn't pull orange on me, luckily! It is quite pigmented; the colour you see in the swatch is one swipe. Also a new and exclusive shade.

4) Rockstar: Rockstar is shimmery deep plum. It is a beautiful jewel tone, with great pigmentation and smooth payoff. This is part of their permanent range.


Top Row (From L-R): Mushroom, Backdoor
Bottom Row (From L-R): Evidence, Loaded
Top Row (From L-R): Mushroom, Backdoor
Bottom Row (From L-R): Evidence, Loaded

1) Mushroom: Mushroom is a shimmery taupe- essentially a gray brown. It looks cool toned in the pan, but it pulls warmer on my skin. It has great pigmentation; it is one of the stars of the palette for me. This is part of their permanent range.

2) Backdoor: Backdoor is a matte dark brown. It reminds me of charcoal; it's that dark. It's a really pretty colour to use for eyeliner, and very pigmented. This is a new and exclusive shade to the palette.

3) Evidence: Evidence is a dark, shimmery navy blue. It has decent colour payoof, but out of the three jewel tones, this one had subpar pigmentation compared to the other two. In the pan, it looks blue, but on my eyes, it looks more black. This is part of their permanent line.

4) Loaded: Loaded is a blackened green, with hints of teal. It appears more black than green when applied to the skin. It is a really pretty colour, regardless of that. This is also part of the permanent range. 


From L-R: Blackout, Asphalt

1) Blackout: Blackout is a deep matte black. It isn't the most pigmented matte black out there, but it does have decent colour payoff. This shade was also in Naked2 Palette. This is part of the permanent range. 

2) Asphalt: Asphalt is a shimmery, medium-dark gunmetal gray, with silver undertones. It has very good pigmentation. This is a new and exclusive shade to the palette. 

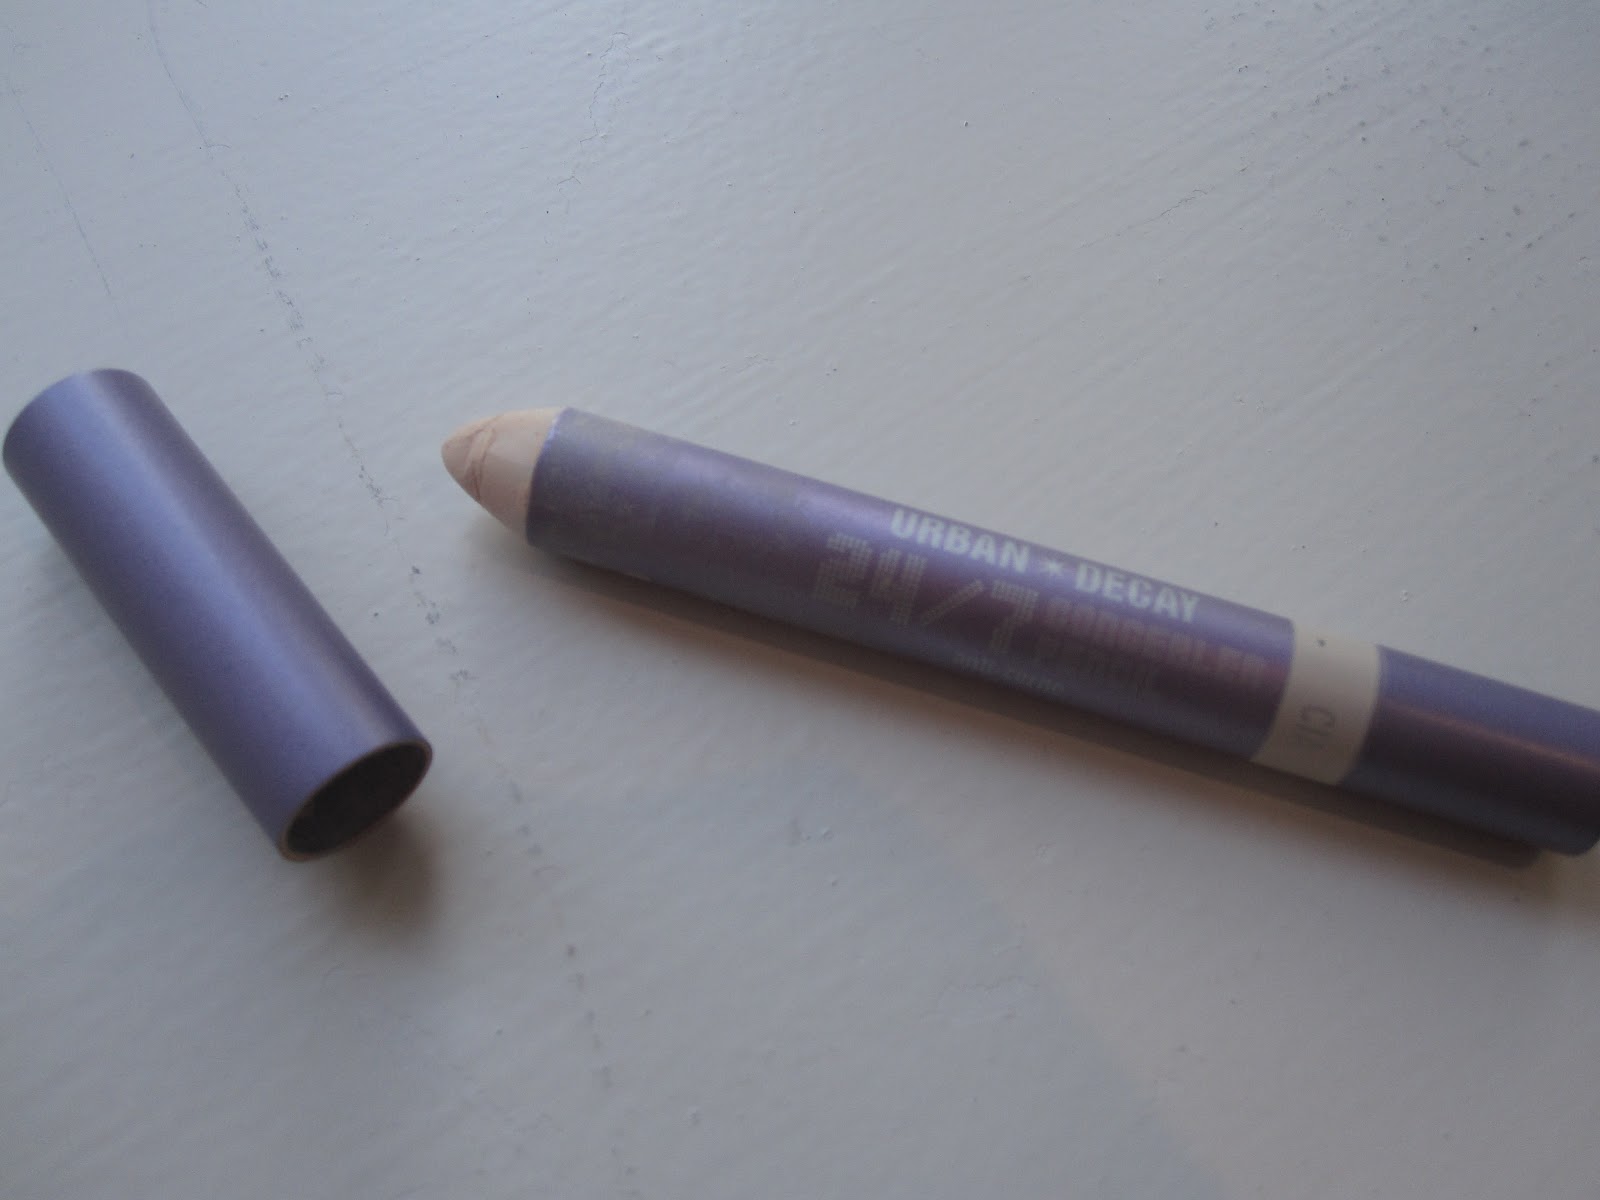
Urban Decay 24/7 Eyeliner in Perversion

The palette also comes with a 24/7 eyeliner in perversion. This is one the blackest eyeliners I have ever seen; it is so pigmented with just one swipe. 
swatch-sunlight

See how pigmented it is? It's crazy. This is not a retractable pencil (as with all other 24/7 liners), but it is so worth the sharpening. 

Urban Decay "Get the Look" Book

Additionally, the palette also comes with a look book, guiding you through different looks you can makes with the shadows in the palette. This has proved to be very useful for me!! 


Overall: 
This is a great palette. I got this for $60.90 CAD at my Sephora. I know it seems steep, but you are getting a lot for your money.
You get 10 eyeshadows with 0.03g of product (not quite full sized- 0.05g is full sized), an full sized eyeliner, the book (which is $9 by itself), and 0.13g of primer potion. Pretty good!!

If I could change one thing about this palette, I would include one light shimmery shade. I always use that to highlight my inner corner, and when I'm using this, I have to reach for another palette to finish my look. Not a major issue, but still.

As for the quality of the entire combination, I'm very impressed. Urban Decay is known for its great eyeshadows, so I was expecting ten buttery smooth eyeshadows, which I got. If I had to choose one that wasn't that great, it would be Evidence, which I was hoping would be more pigmented and more blue.
The eyeliner is amazing too, and I love the look book. It is so easy to understand. And I'm always happy to get more primer potion!

My Rating: 9.5/10 I'm very satisfied with this palette, and I highly recommend it to lovers of dark eyeshadow looks!! If you prefer lighter shades, this probably isn't for you.

Thanks for reading!!

Melissa

Sunday, August 19, 2012

My Brush Collection! Part 2- Eye

Welcome to Part 2 of my brush collection!! Today I'll be going through my eye brushes, and I have a few more of them than face brushes.
So since this needs no introduction, I'll just jump right into them!!

EYE BRUSHES

Flat Eyeshadow Brushes
1) Quo Flat Shadow Brush
Quo Flat Shadow Brush

I love this eyeshadow brush. I got it quite awhile ago, but it is perfect for packing the right amount of colour onto the lid. It makes colours pop, and it is definitely a staple in my collection.

2) EcoTools Concealer Brush
EcoTools Concealer Brush

I know this is marketed as a concealer brush, but I use it as a eyeshadow brush. It doesn't work quite as well as the Quo one; it's bristles don't transfer as much eyeshadow onto the lid.

Crease Blending Brushes
3) Spa Resource Crease Blender Brush
Spa Resource Crease Blender Brush

This is the smallest crease brush I own. I really like it because it gets lots of colour in the crease and just apply a wash of colour, like some bigger crease brushes can. 
This cost me about $4 CAD at my Wal-Mart, which I thought was a great deal for the quality!

4) EcoTools Eye Shading Brush
EcoTools Eye Shading Brush

I use this brush for extreme blending, or for when I want a wash of diluted colour in the crease. It's a good brush, but I don't find myself reaching for it that often. This came in a travel set.

5) EcoTools Highlighting Brush
EcoTools Highlighting Brush

Now this is a brush I reach for often. Like the name says, I use this a lot to highlight my browbone.
I also use it sometimes for putting a bit of colour in my crease. This also came in a travel set.

Eyeliner Brushes
6) Essence Cream Liner Brush
Essence Cream Liner Brush

As the name suggests, this is meant for cream liner. However, I use it with powder eyeshadow sometimes to line my upper and lower lashline, usually with the same colour I used in the crease. This brush definitely gets a lot of use.

7) EcoTools Smudge Eyeliner Brush
EcoTools Smudge Eyeliner Brush

I use this brush alonside the previously mentioned Essence brush. On my upper lashline, after the Essence brush has applied shadow along it, I will use this to smudge the shadow into my crease to add a bit of definition. This is a recent addition to my collection, but is already getting a lot of use.

Dual Ended Brushes
8) Urban Decay Good Karma Shadow/Crease Brush
Urban Decay Good Karma Shadow/Crease Brush

This brush came with my Urban Decay Naked2 Palette, and I absolutely love it. I don't use the shadow end all that often, but I adore the crease end. I use it blend the colours already in my crease, and it will diffuse even the darkest of colours. Absolutely love it. This dual ended brush is not available on its own, but I would recommend the crease brush, which can be bought separately. 

Detail Brushes
9) EcoTools Petite Eye Shading Brush
EcoTools Petite Eye Shading Brush

I use this brush for one thing- for applying a light shadow to my inner eyelid to brighten it up. It fits perfectly on my eye shape. This also came in a travel set.

10) EcoTools Smudge Brush
EcoTools Smudge Brush

Again, this brush only has one purpose- highlighting. I use this to apply a light shimmery shade in my inner corner to brighten up my entire eye. This is a daily task for me, so needless to say, this one gets a lot of use.


So that's it for my entire brush collection!!

Thanks for reading!!

Melissa

Thursday, August 16, 2012

Haul!!!

So I went shopping the other day after not going for a month while I was on vacation. Needless to say, I splurged quite a bit on myself, so I thought I would show you what I bought.

Let's get started!

1) Urban Decay Smoked Palette
Urban Decay Smoked Palette

Yes, I got it. I've been eyeing it for awhile, and since the last Urban Decay Palette I got was Naked2 back in January, I figured if I could afford it, why not?

This little guy was not cheap. It cost me $60.90 CAD (including GST), but if you think about everything you get in the palette, it's quite a good deal.

You get 10 eyeshadows, a 24/7 eyeliner, a look book, and a travel tube of Urban Decay Primer Potion.

Urban Decay 24/7 Liner in Perversion

I think I might post a review on this, but I'm not too sure yet. 


Aren't the colours pretty? Once I saw them in person, I couldn't pass it up.

2) OPI Every Month is Oktoberfest

OPI Every Month is Oktoberfest

I also got two polishes from the Germany collection. I had rushed into the store to grab the two colours I wanted, and saw they were sold out of this one. The place where I buy my OPI nail polishes rarely ever get a second shipment of collections, so I knew I probably wouldn't get another chance to buy this.
So I trudged over to the checkout with the other colour, and saw one bottle of this is in a promotionary display and got this one too!!
It's a beautiful colour, a dark red/purple base with gold/blue shimmer.

3) OPI Unfor-greta-bly Blue

OPI Unfor-greta-bly Blue

This is the second polish I got from the OPI Germany collection. This is a pretty blue, with hints of teal. You can see swatches and read more about it in my most recent NOTD.

So that's it for my haul!!!
It's only three things,but they set me back quite a bit!! I'll justify it by saying I bought them for blogging purposes.

Thanks for reading!!

Melissa

Wednesday, August 08, 2012

Beauty Wishlist: August 2012

So as we all know, there are some beauty items that we desperately want but we know we don't actually need, or can afford.

So I'm going to do a Beauty Wishlist for today's post, which is basically a list of some products I'm eyeing right now, but I won't probably end up getting most of them.

With all the fall collections and products being released lately, there are quite a few products I'm drooling over, so I figured my blog was a good place to share them, instead of boring the people around me :)

So let's get started, shall we?

1) Urban Decay Smoked Palette

This is the biggest (and most expensive product) that I've been eyeing. A few weeks back, one of my favourite Youtubers, emilynoel83, put out a review of this palette. I listened to her glowing review, and thought, "Oh, I don't really need that, they're all dark neutrals and a couple colours, and I don't wear those." Then I thought about it some more, and realized that I had in fact been wearing lots of dark colours lately, and I had been wanting a blue and plum eyeshadow. So now it's on my list. 
This palette comes with 10 eyeshadows, a full sized 24/7 eyeliner in Perversion, a squeeze tube of Urban Decay Primer Potion, and a comprehensive look book.

2) OPI Germany Collection: I've also been looking at pictures of OPI's fall collection, Germany. I have my eye on four polishes, but I think I'll only end up getting two.

Danke-Shiny Red
source: OPI's Facebook Page
Unfor-greta-bly Blue

German-icure by OPI 

Every Month is Oktoberfest

I think that the two I'm going to end up getting are "Unfor-greta-bly Blue" and "German-icure by OPI", because the last two are so similar and the red clashes with the colours I wear a lot.

3) Maybelline EyeStudio Color Explosion Luminizing Eyeshadow in Caffeine Rush

I wear neutral eyeshadows a lot, so this palette seems like sort of a no brainer for me. But I kid you not, I've been eyeing this palette for over year, and I just can't bring myself to buy it! And it's not even that expensive (it is drugstore), so maybe this will be the time :)

4) Sally Hansen Magnetic Nail Color 
source: Sally Hansen's Website

I'm not really looking at any specific color right now, but the magnetic nails have always kind of intrigued me, so when Sally Hansen released a line, I thought it might be a good time to try it.

Anyway, that's all I've really been eyeing lately!!!
I probably won't end up buying half of this stuff, but it's always fun to fantasize!!

Thanks for reading!!!
Melissa

Friday, August 03, 2012

July Favorites!!!

So since it is now the beginning of August, I thought I would share some products that I was loving in the month of July. So let's get started, shall we?

Benefit's They're Real! Mascara

1. Benefit's They're Real! Mascara: I got this mascara a couple of months ago, along with two other  high end mascaras. When I first started using this, I absolutely loved it. It was my most used out of all three.


But about a month into using it, I started getting really into the other two mascaras and stopped using this one. One day, I decided to use it again, and I didn't really like the results. It made my eyelashes too clumpy. So I put it aside again, and then on my third day of vacation, I decided to try it again...and loved it!! I don't know what changed, maybe the formula dried out enough to give those results? But whatever it was, it made my eyelashes longer, fuller and could hold a curl. A definite favorite!

Sally Hansen Salon Effects Nail Stickers in Kitty Kitty

2. Sally Hansen Salon Effects Nail Stickers in Kitty Kitty: I bought these for my vacation before I left. I had used one of these packs of stickers before in "Laced Up", but never this one. I really like this one better, to be honest. It stayed on longer, and looked more realistic.


This is the look I did with them on my vacation. Sorry for the visible nail beds; these have been on for eight days. But no chipping!! :D

Urban Decay 24/7 Concealer Pencil in Cia

3. Urban Decay 24/7 Concealer Pencil in Cia: I got this for Christmas, and up until recently I hadn't really used it much. I had other concealer that I used, and it was just too thick for an undereye concealer.


swatch...sorry for the blurriness

It just kind of sat in my makeup drawer, until one day, on a whim, I pulled it out to use on a tiny blemish. It worked wonders!! I couldn't see it after one swipe!! Now it is part of my daily makeup routine.

Smashbox Metallic Cream Liner Palette

4. Smashbox Metallic Cream Liner Palette: I had been eyeing this palette in my Sephora for a long time before I finally broke down and bought it.

Top Row (from L-R): Onyx, Topaz, Emerald, Sapphire, Gold
Bottom Row (from L-R): Amethyst, Blue Topaz, Graphite, Platinum, Bronze

Being a neutral eye makeup lover, I was quite surprised that I preferred this palette over the more neutral one that Smashbox also offers. 


My most used shades are Amethyst, Sapphire and Graphite, as you can see from the dents. These are really good shades for any colorful and neutral looks, although I don't quite see the purpose of having a sparkly silver cream liner. But ah well. One out of ten going unused isn't bad at all. I paid $40 CAD for this palette (it is Smashbox, after all) but that's still $4 CAD per eyeliner, which is pretty good. Anyway, these are pigmented and stay on well. Not much more I can say!

Essence Cream Liner Brush

5. Essence Cream Liner Brush: I don't actually use this for cream eyeliner, as all my cream liners have their own little brushes. I use this to darken my lower eyeliner by running some dark eyeshadow under my lower lashes, all while staying close to the lashes, so it blends in with my eyeliner.


I also use this on my upper lashline, too, when I'm using dark eyeshadow for eyeliner. I think I paid $2 CAD approximately for this, which is pretty good for the amount I use it!!!

So that concludes my July favourites!! 
Thanks for reading!!!

Melissa